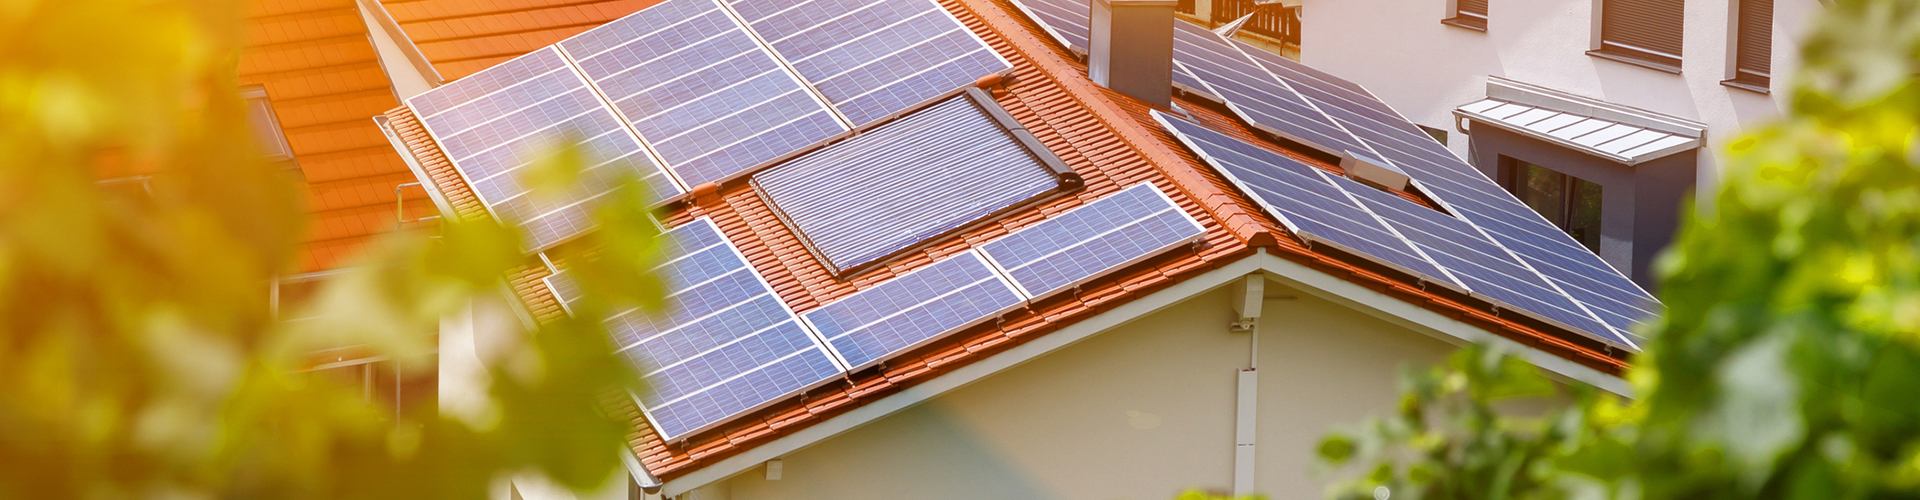
The photovoltaic connector is a transportation hub that effectively connects the key components of the solar power generation system. It can be called the main artery of the solar power generation system. The connection with the junction box, components, solar inverters, etc. requires the use of photovoltaic connectors. According to the "Review and Analysis of Factors Affecting Photovoltaic Power Generation" report released by the "Solar Bankability" project team of the EU Horizon2020 program, among the power generation revenue losses caused by the risk of failure of the TOP20 technology in the power station, connector damage and burnout ranked second. bit. How to install photovoltaic connectors correctly is a problem that cannot be ignored in the construction process.
The root cause of the failure of the connector is that in the case of current flow, the increase in resistance leads to an increase in temperature rise and exceeds the temperature range that the plastic shell and metal parts can withstand. In addition to the product quality itself, improper installation is one of the main factors causing the increase in resistance. Irregular installation will increase the risk of connector failure, causing a series of chain reactions, such as system downtime, increased operation and maintenance costs, and fire risks.
How to install photovoltaic connectors?
Step 1: Strip the wires
The stripping length is 6~7.5mm, and the number of copper wires cut in the stripping process is no more than 5. It is recommended to use professional strippers to ensure the quality of the stripping.

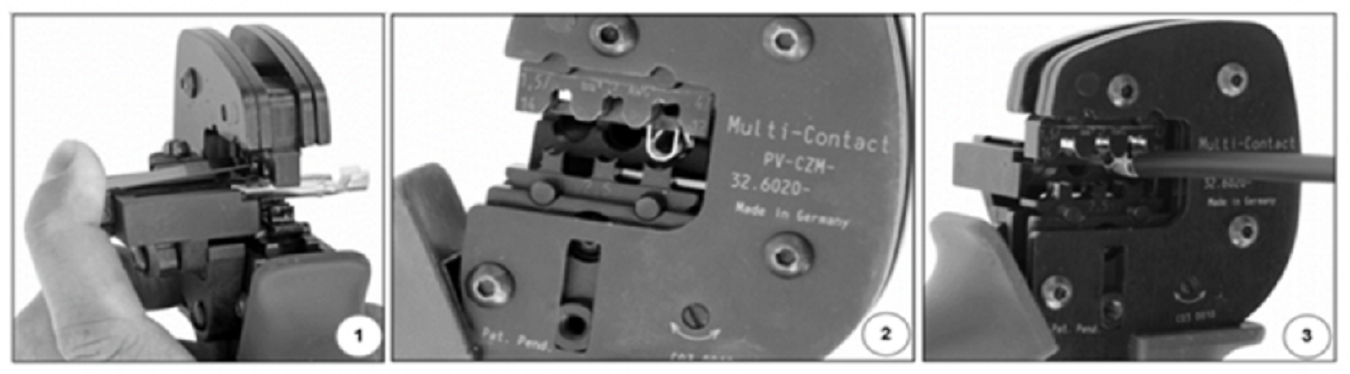
Step 2: Crimp
Open the well and hold the clip, place the metal core in the appropriate cross-sectional area, with the opening facing up, press until the opening touches the crimping die, then insert the stripped end of the cable until the insulation of the cable touches the crimping core, and then fully crimp.
Qualified crimping should have no broken wires, missing wires and burrs in appearance, symmetrical left and right, and correct front and rear positions of copper wires. Taking a 4mm2 cable as an example, the IEC 60352-2 standard requires a pull-off force of at least 310N and a crimp resistance of less than 135μΩ for the open crimp ends of metal pins on the market.
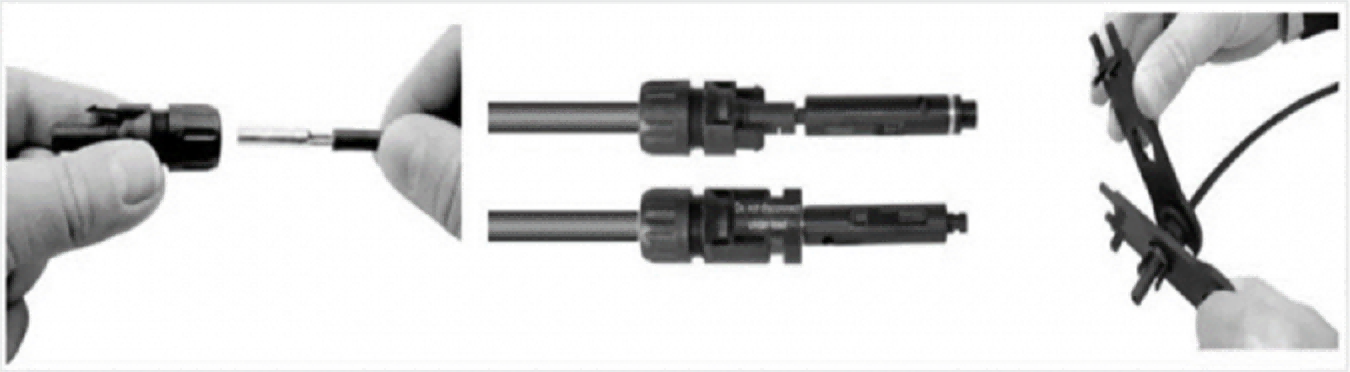
Step 3: Insertion
Insert the cable end into the insulator, you will hear a "click" when it is in place, pull it in the opposite direction to confirm the connection is reliable, and then use a wrench to tighten. Finally, plug the positive and negative connectors into each other and hear a "ding" sound to indicate that they are in place.
Although photovoltaic connectors account for a low proportion of the cost of photovoltaic power plants, they are key components and should still be given enough attention. Reliable quality photovoltaic connectors and correct installation methods are one of the conditions to ensure the normal and stable operation of photovoltaic power plants. The stable operation of photovoltaic power plants can ensure the power generation of the power station and ensure the continuous income of investors.
Tel : +86-15715519091
Email : solar29@bluesunpv.com
Whatsapp : +86-15715519091
Add :1499 Zhenxing Road, Shushan District, Hefei,China


 IPv6 network supported