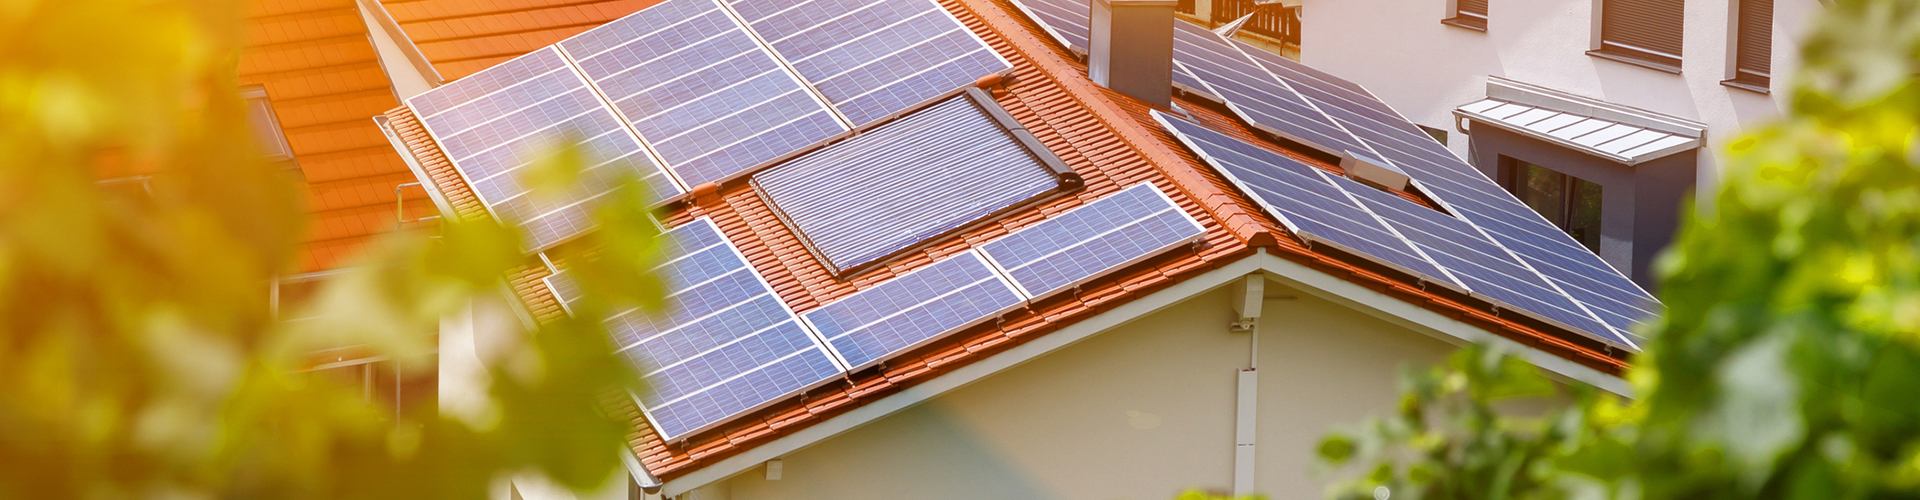
The household solar system refers to placing photovoltaic panels on the top floor of a family house or in the courtyard, using a low-power or micro-inverter to perform the commutation process, and directly using this new energy, and can also incorporate excess electric energy into the grid.
Household photovoltaics can not only bring benefits, but also save energy and protect the environment. So for household photovoltaic systems, what are the key points to pay attention to during installation?
1. The deviation of the verticality of the bracket is not more than ±1mm per meter, and the deviation of the angle of the bracket is not more than ±1 degree. The installation of the bracket should be tidy as a whole, the rear column should be kept perpendicular to the installation surface, and the main keel should be kept parallel to the installation surface. The mechanical installation holes of the components should be guaranteed to fall near the two main keels, so when installing the bracket, ensure that the distance between the two main keels of the bracket is 867-1067mm.
2. The solar mounting is grounded through a 40*4 mm galvanized flat iron.
Installation method and steps of flat roof support:
First, clean the sundries on the roof, use a tape measure to measure the installation position of the foundation on the roof, and place the foundation;
Use a percussion drill to drill holes in the cement foundation. The depth of the hole is determined by the thickness of the foundation and the length of the bolts. The diameter of the bolts is M10. (The foundation pre-embeds the bolts to deal with impurities on the threads);
Use an air suction pump to suck out or blow out the sundries in the hole to ensure that the hole is clean; put the expansion bolt into the hole, and use a non-metallic hammer such as a wooden hammer or a leather hammer to gently tap the bolt into the hole, with a distance of 30mm from the hole ;
Install the bottom beam or base, align the bottom beam hole or base hole with the bolt and tighten the nut with a wrench; (fix other foundation bases according to the above method), measure the installation position of the rear column according to the angle of the bracket, and use the bolt to tighten the base The seat is fixed to the rear column;
Fix the slanting beam, use the corner connection to fix it with the rear pillar, and connect the slanting beam to the base with bolts;
Fix the keel, determine the installation position of the keel according to the component installation hole, keep the distance between the keel and the installation hole at ±100mm, and the frame at both ends of the component is 200-300mm from the inclined beam, and use special-shaped nuts to fix the keel on the inclined beam;
Solar panel installation, determine the installation height of the component before installation, the lower glass surface of the component is 300mm from the ground, use the side clamp to fix the component, first fix the lower clamp to prevent the component from slipping, and the distance between the component frame and the two ends of the keel is 20-30mm. When fixing, two people are required to cooperate, and the overall parallelism of the components is determined using the wire drawing method or a level ruler.
Tags :
Tel : +86-15715519091
Email : solar29@bluesunpv.com
Whatsapp : +86-15715519091
Add :1499 Zhenxing Road, Shushan District, Hefei,China


 IPv6 network supported